
I love to put up decorations for the first day of school to make a cute photo op for my kids. Once I started, I committed to doing it every year so I can compare pictures and see how much they've grown and changed! Two of my favorite Back To School Decor pieces are Pool Noodle Colored Pencils & Foam Board Piece of Paper.
Pool Noodle Colored Pencils (Easy DIY Back to School Decor)
One of my favorite pieces in this setup is the oversized “colored pencils” made from pool noodles. They add so much color and make the whole backdrop feel fun and kid-friendly.
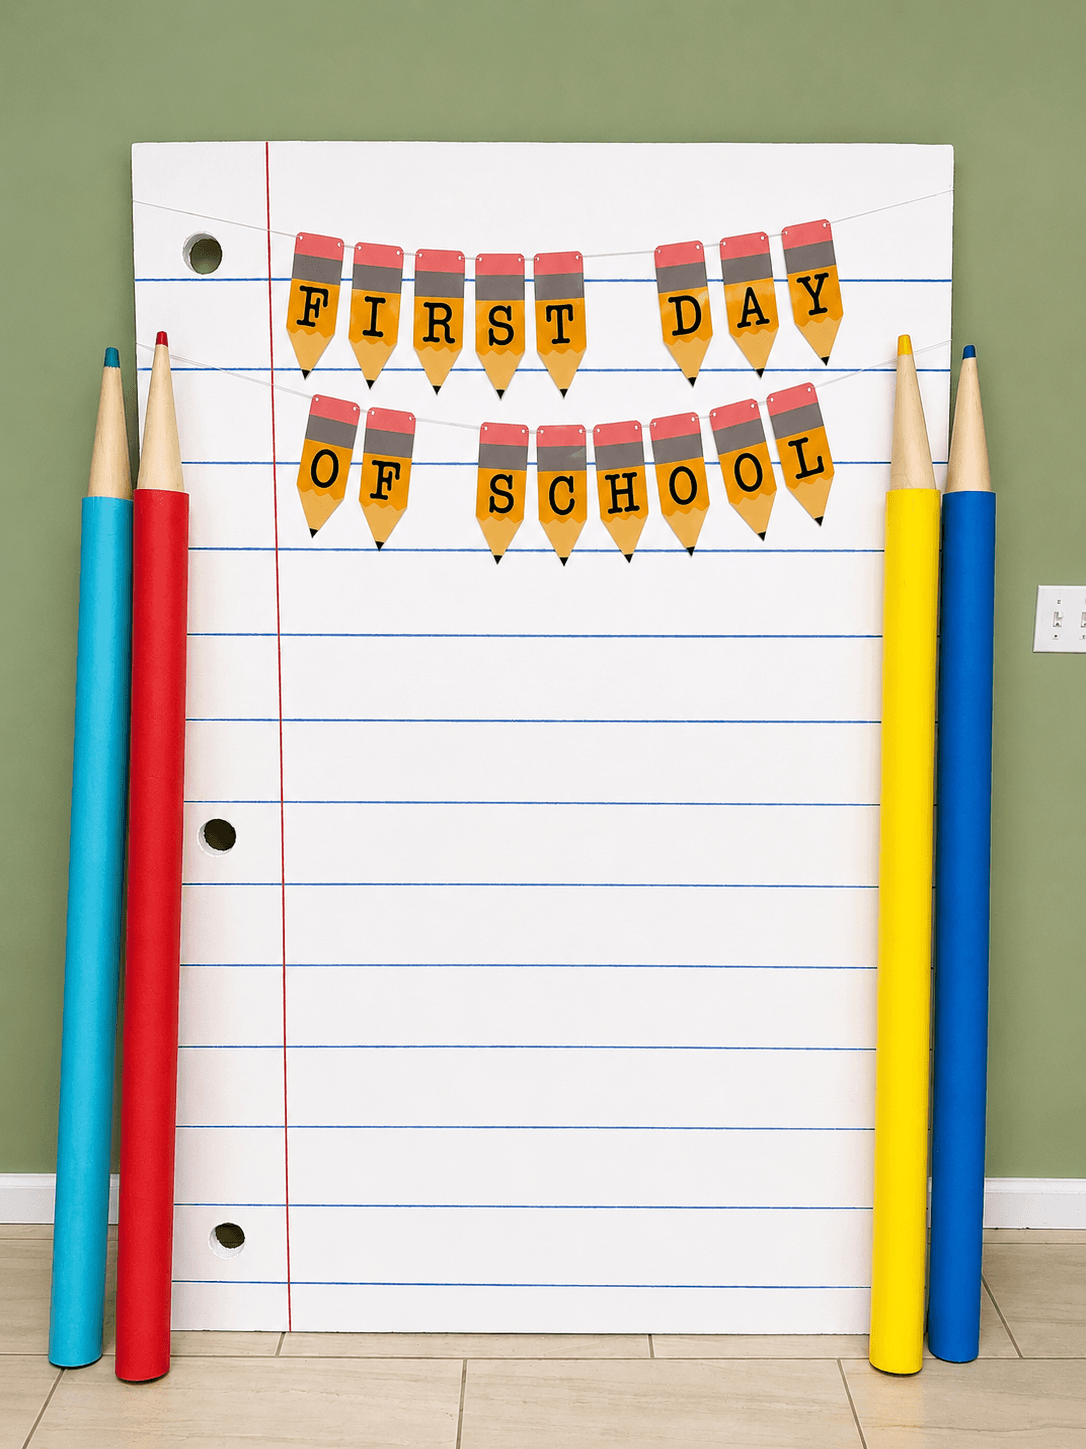
I actually didn’t make these myself. I ended up inheriting them from a church event where a friend had created them, and I loved them so much I kept them for our own back-to-school photos.
The best part is how simple they are to recreate. Each pencil is made from:
A pool noodle
A piece of cream/tan-colored paper wrapped around the top (to look like the wood of a pencil)
A painted or colored tip that matches the pool noodle
That’s it!
They’re lightweight, easy to move around, and hold up really well year after year. If you’re looking for a simple DIY back to school photo backdrop idea, these make a huge impact without a lot of effort.
How to Make the Foam Board “Notebook Paper”
This oversized notebook paper is such a fun (and surprisingly easy) piece to add to your back-to-school setup. It makes the perfect backdrop for photos and really ties everything together.
Step 1: Start with your foam board
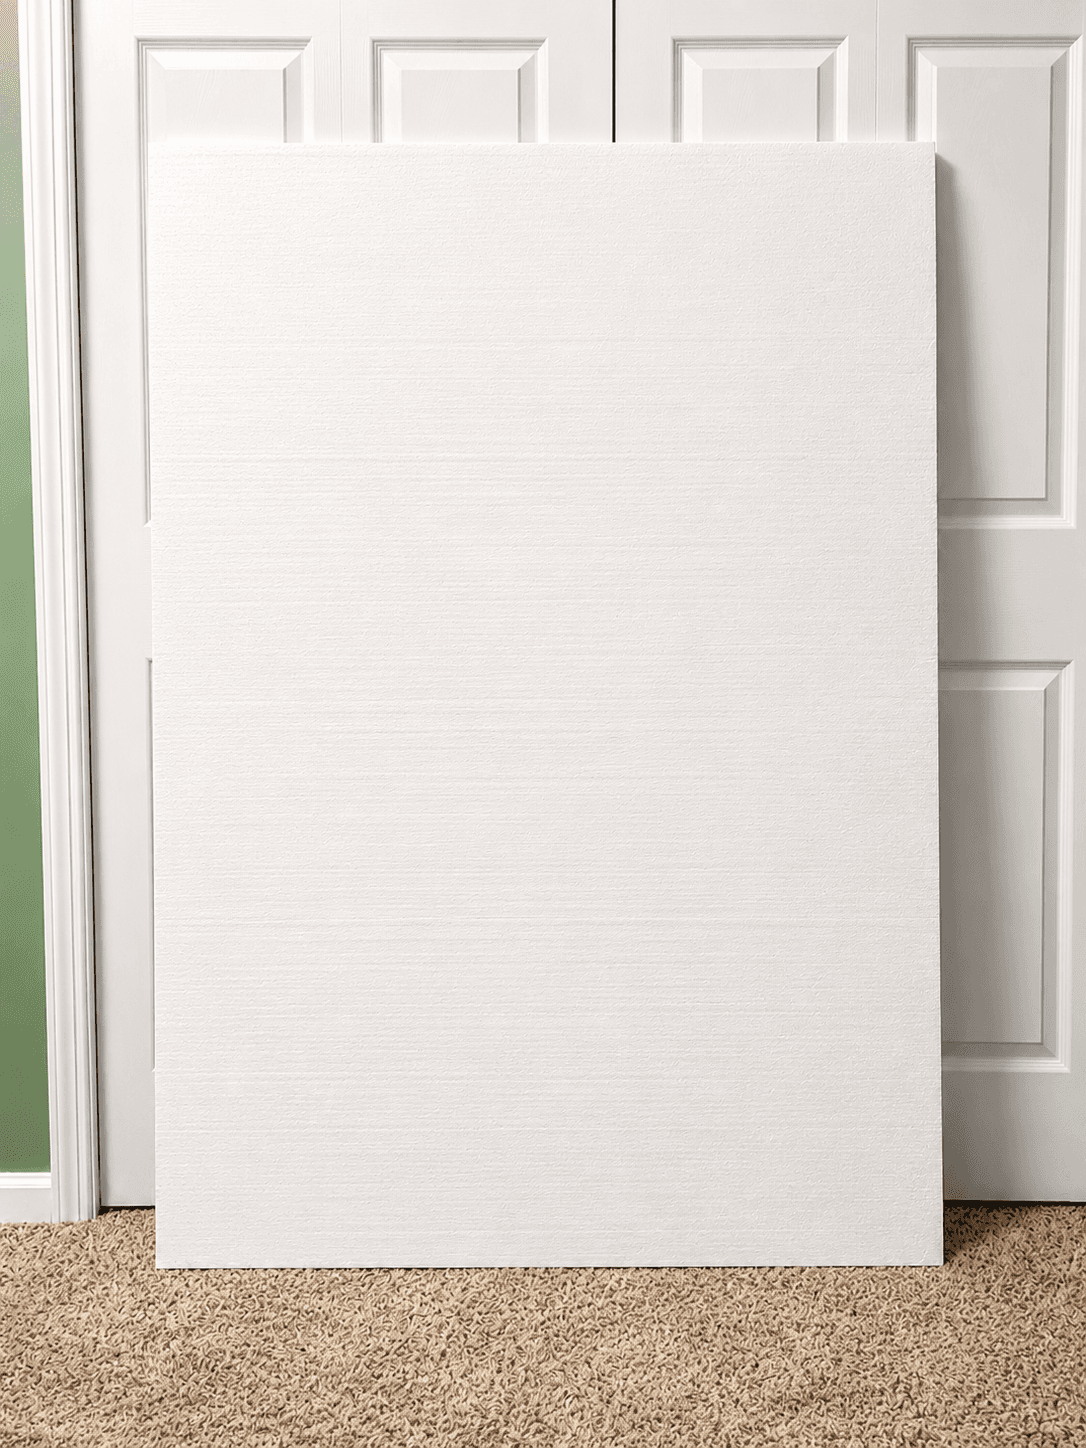
I used a sheet of foam wall insulation (Poly Pro) for this, which you can usually find at a hardware store. It’s lightweight, sturdy, and big enough to make a great photo backdrop.
Step 2: Sketch out your layout
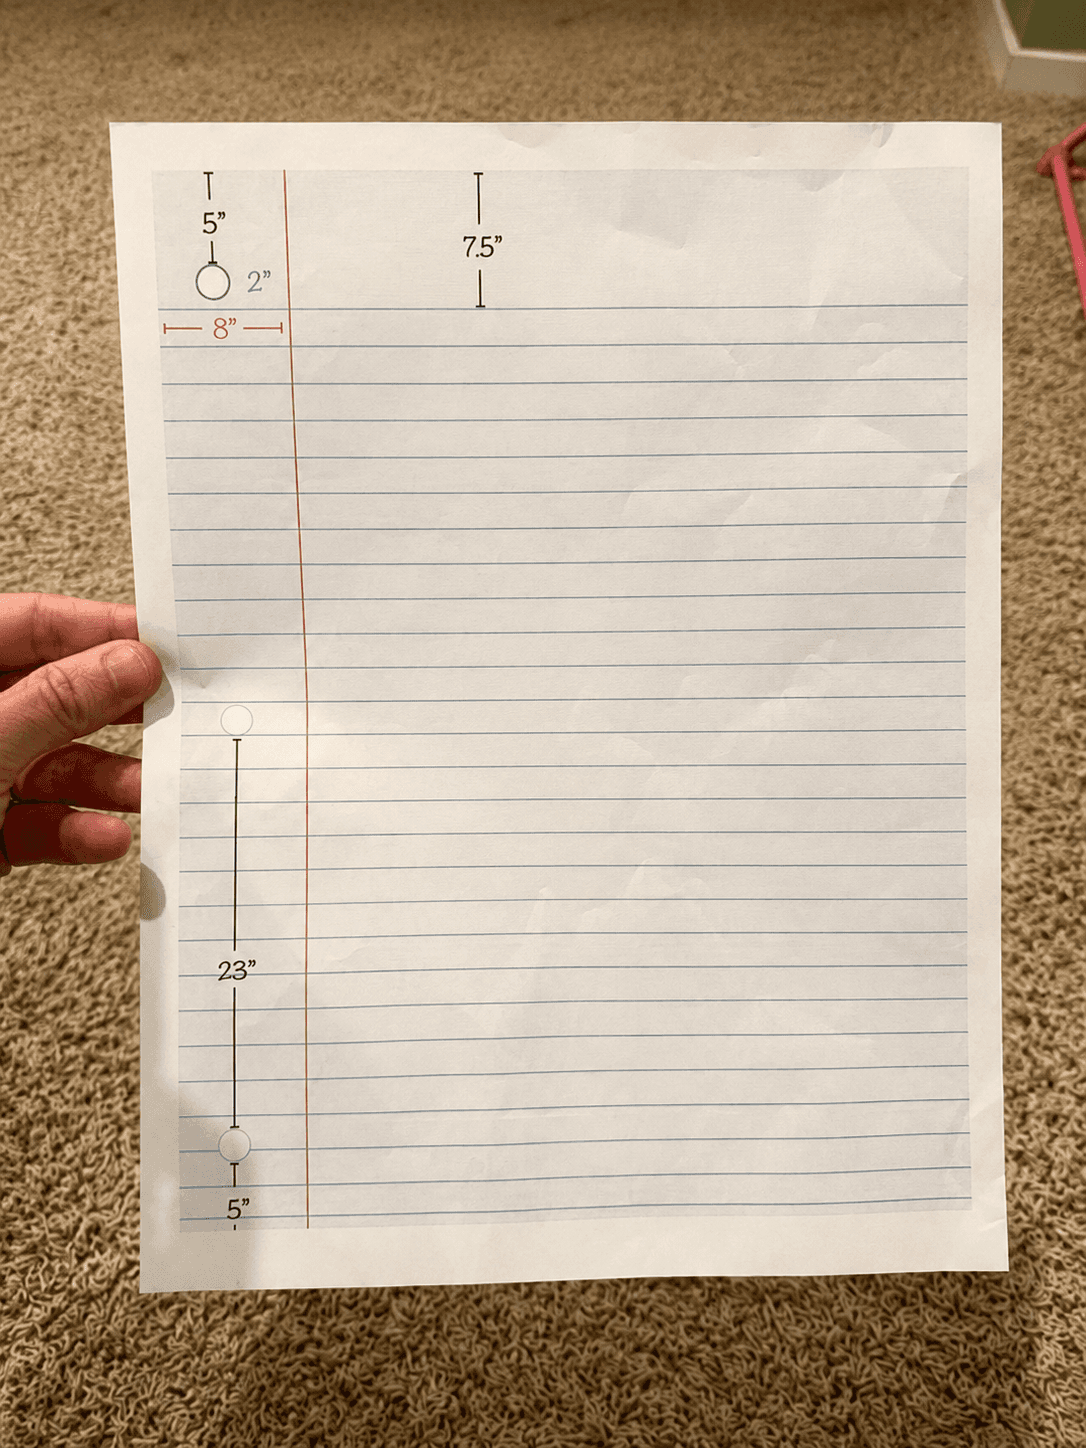
Before drawing anything permanent, lightly map out your lines using a real sheet of notebook paper as a reference (see image below).
The red margin line sits about 8 inches from the left
The first horizontal line is spaced about 7.5 inches from the top of the board
The binder holes are spaced down the left side (top and bottom about 5 inches from the edge, with about 23 inches between)
Don’t worry about being perfectly exact. Eyeballing it works just fine!
Step 3: Draw your lines
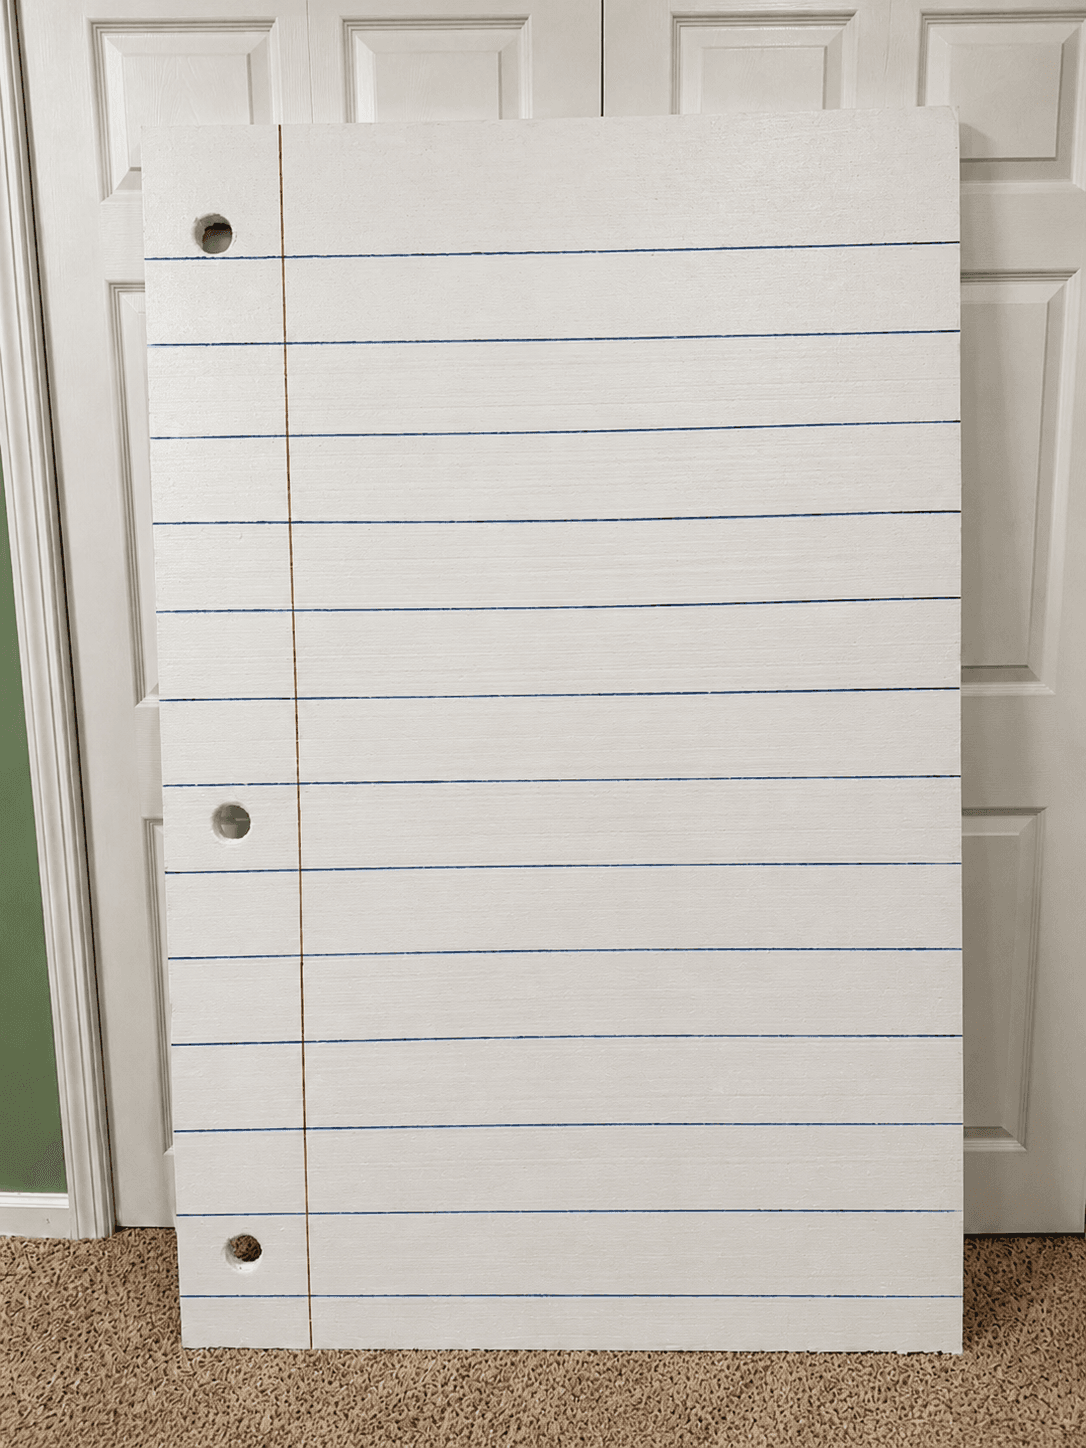
Use sharpie markers or paint pens to draw:
Blue horizontal lines across the board
One red vertical margin line
A ruler/yardstick helps keep things straight, but again, it doesn’t have to be perfect to look great in photos.
Step 4: Add the binder holes
Use something round (like a cup or lid) to trace your circles, then carefully cut them out of the foam board. This small detail makes a big difference and really sells the “notebook paper” look.
I like to add this banner as a finishing touch to the board. You can make and print your own here.
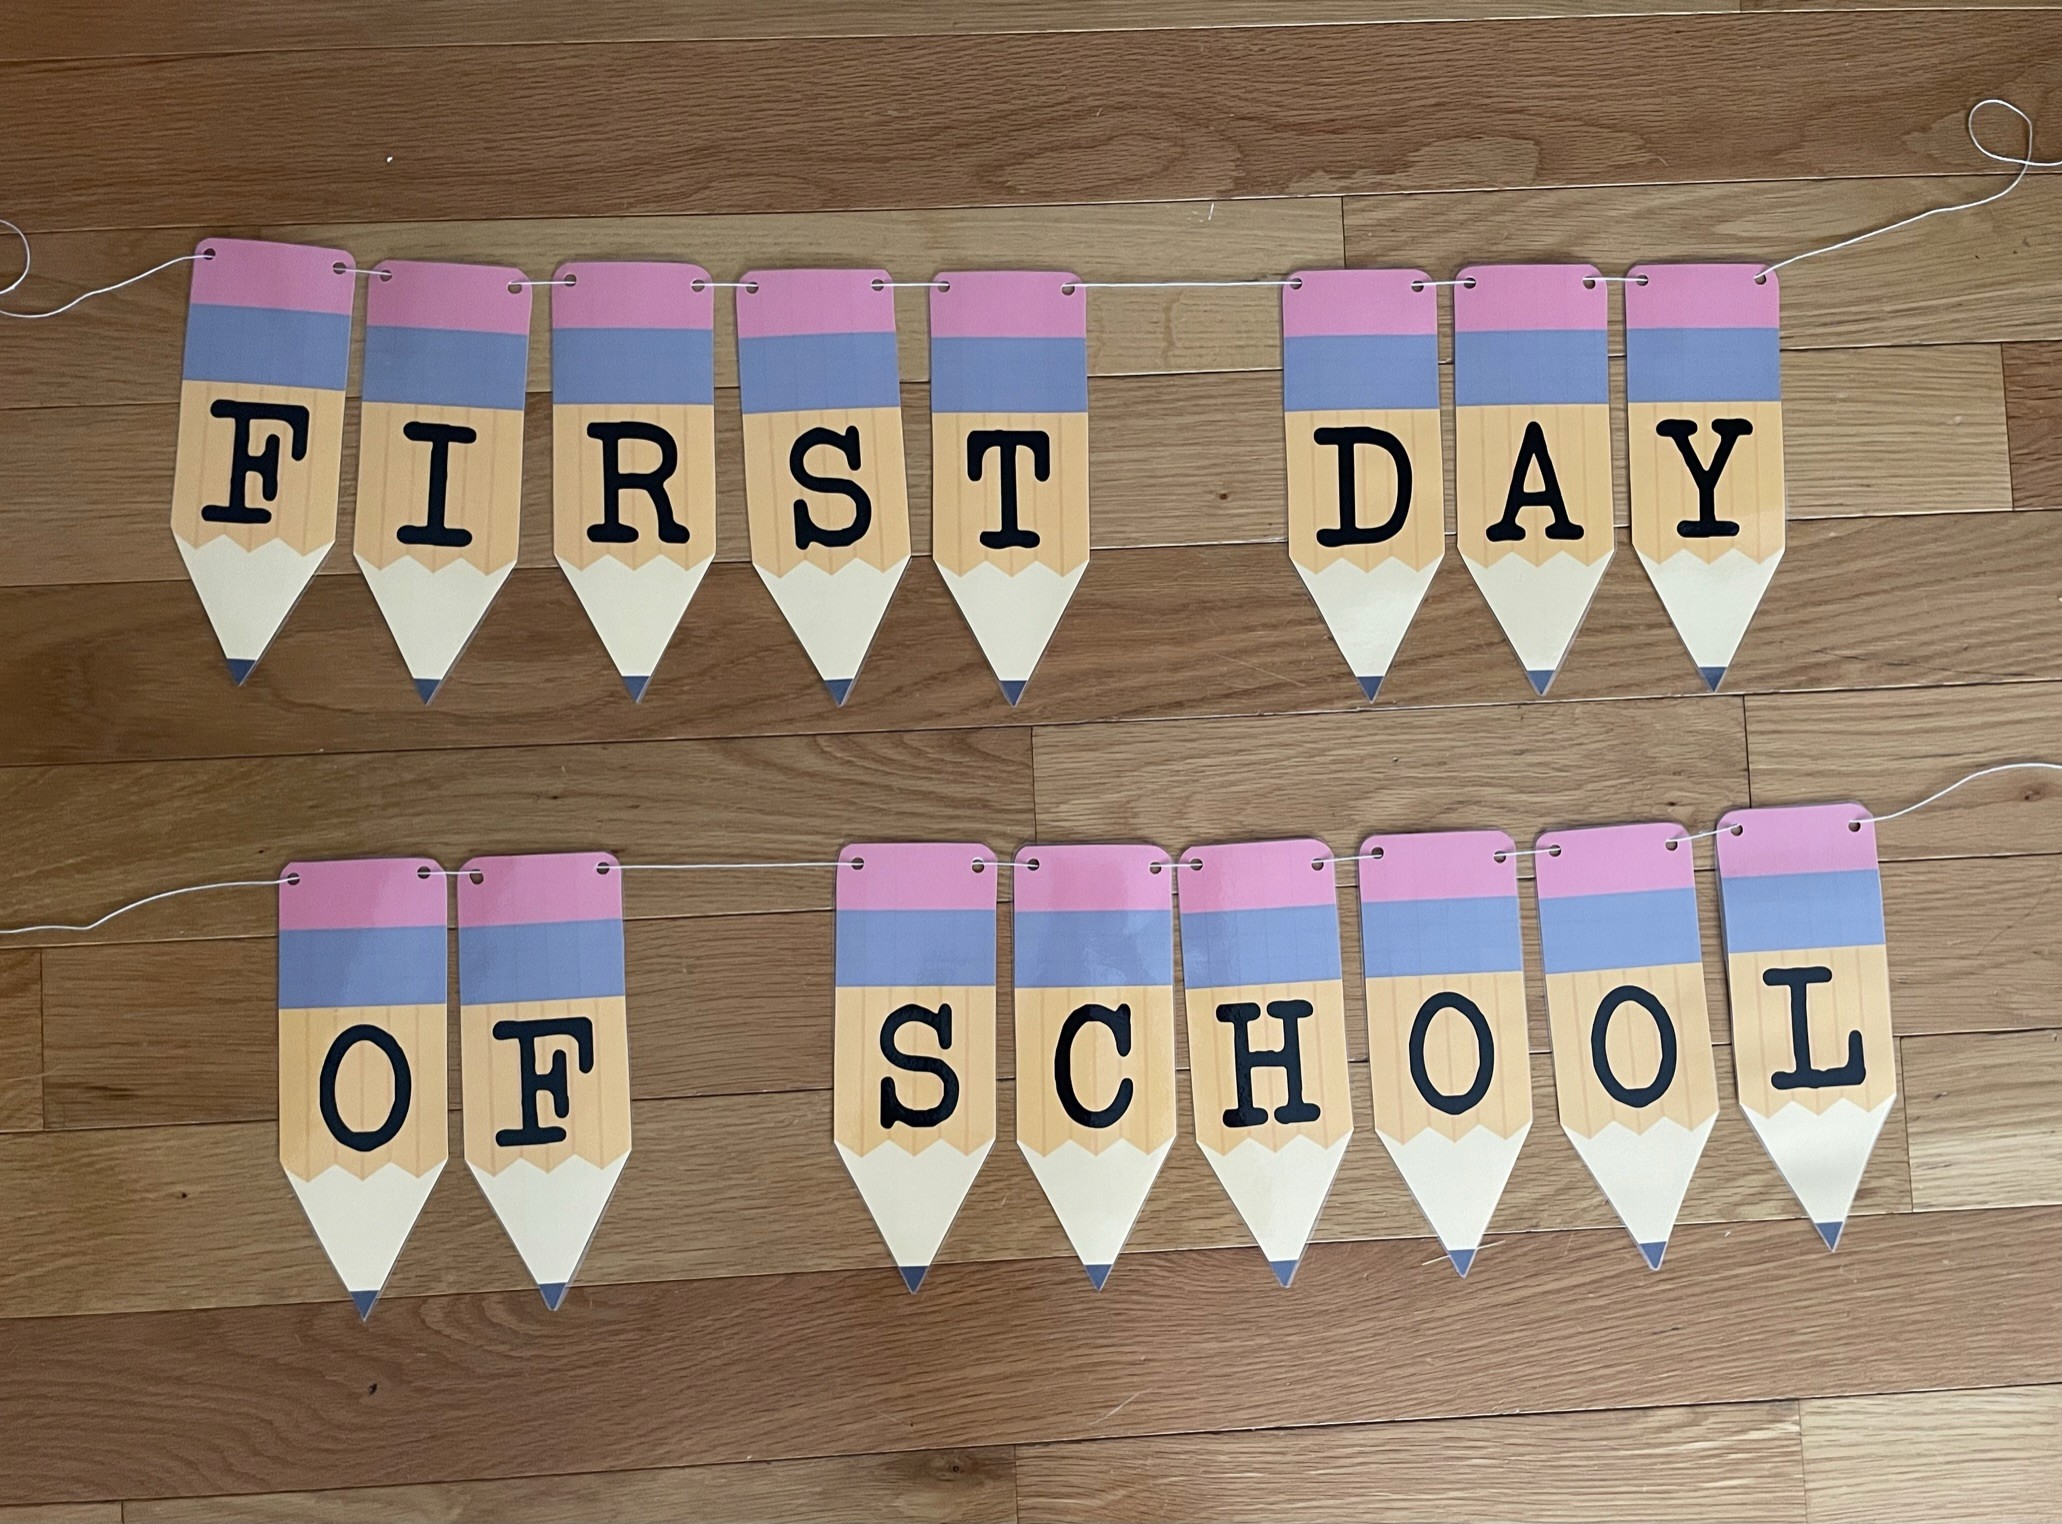
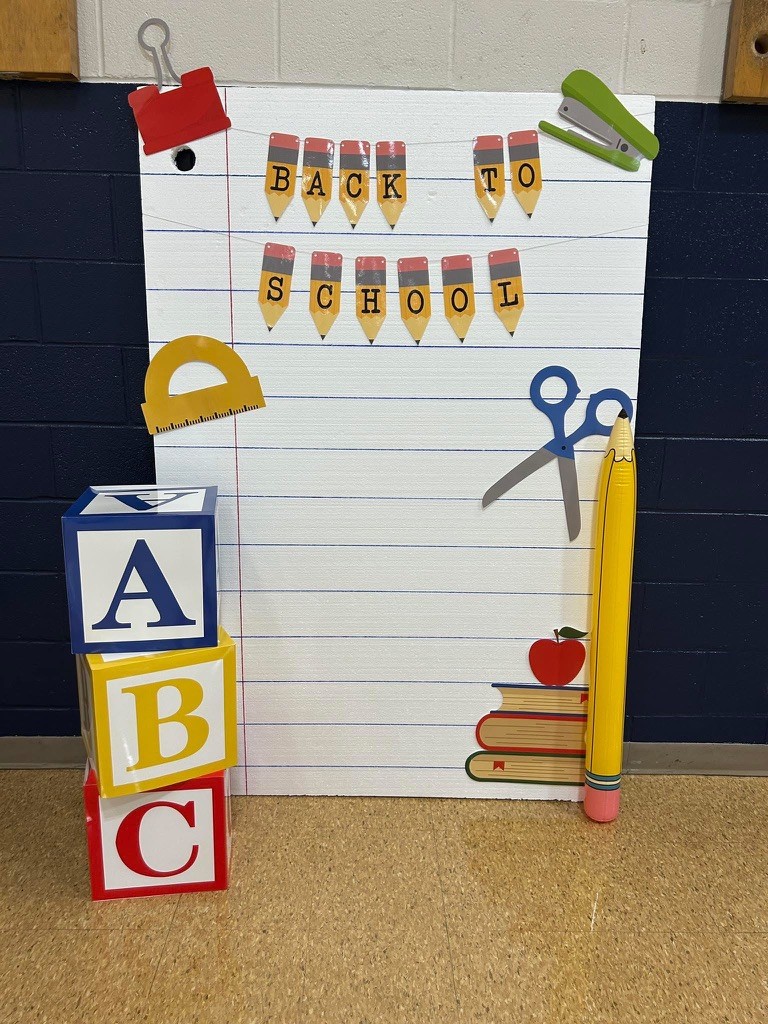
I used this at a school event so I did end up putting a piece of wood, vertically, along the back so it would stand tall without bowing and falling forward if kids would bump into it during the photo op.
The link to the back to school decorations can be found here.
It’s one of those projects that looks super impressive but is actually really simple to put together. And once you make it, you can reuse it year after year for those first day of school pictures.